We are
installing Ruby On Rails on Linux using rbenv. It is a lightweight
Ruby Version Management Tool. The rbenv provides an easy
installation procedure to manage various versions of Ruby, and a solid
environment for developing Ruby on Rails applications.
Follow
the steps given below to install Ruby on Rails using rbenv tool.
Install Prerequisite Dependencies
tp>
sudo yum install -y git-core zlib zlib-devel gcc-c++ patch readline
readline-devel libyaml-devel libffi-devel openssl-devel make bzip2 autoconf
automake libtool bison curl sqlite-devel
Install rbenv
Now we
will install rbenv and set the appropriate environment variables. Use the
following set of commands to get rbenv for git repository.
tp>
git clone git://github.com/sstephenson/rbenv.git .rbenv
tp>
echo 'export PATH = "$HOME/.rbenv/bin:$PATH"' >>
~/.bash_profile
tp>
echo 'eval "$(rbenv init -)"' >> ~/.bash_profile
tp>
exec $SHELL
tp>
git clone git://github.com/sstephenson/ruby-build.git
~/.rbenv/plugins/ruby-build
tp>
echo 'export PATH = "$HOME/.rbenv/plugins/ruby-build/bin:$PATH"'
<< ~/.bash_profile
tp>
exec $SHELL
Install Ruby
Before
installing Ruby, determine which version of Ruby you want to install. We will
install Ruby 2.2.3. Use the following command for installing Ruby.
tp>
rbenv install -v 2.2.3
Use the following
command for setting up the current Ruby version as default.
tp>
rbenv global 2.2.3
Use the
following command to verify the Ruby version.
tp>
ruby -v
Output
ruby
2.2.3p173 (2015-08-18 revivion 51636) [X86_64-linux]
Ruby
provides a keyword gem for installing the supported
dependencies; we call them gems. If you don't want to install the
documentation for Ruby-gems, then use the following command.
tp>
echo "gem: --no-document" > ~/.gemrc
Thereafter,
it is better to install the Bundler gem, because it helps to manage your
application dependencies. Use the following command to install bundler gem.
tp>
gem install bundler
Install Rails
Use the
following command for installing Rails version 4.2.4.
tp>
install rails -v 4.2.4
Use the
following command to make Rails executable available.
tp>
rbenv rehash
Use the
following command for checking the rails version.
tp>
rails -v
Output
tp>
Rails 4.2.4
Ruby on
Rails framework requires JavaScript Runtime Environment (Node.js) to manage the
features of Rails. Next, we will see how we can use Node.js to manage Asset
Pipeline which is a Rails feature.
Install JavaScript Runtime
Let us
install Node.js from the Yum repository. We will take Node.js from EPEL yum
repository. Use the following command to add the EPEL package to the yum
repository.
tp> sudo yum -y install epel-release
tp> sudo yum -y install epel-release
Use the
following command for installing the Node.js package.
tp> sudo yum install nodejs
Create new default application with the following
command
tp>
rails new demo
Now Install dependency file using the following bundle
command.
tp> bundle install
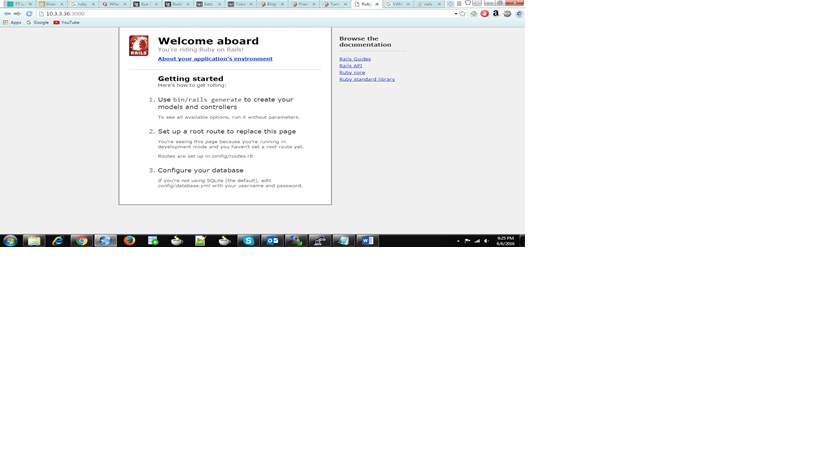
Now start the server using the following rails command
tp> ralis s
(or) rails server
Now we will aim for setting up the oracle database
Open the database.yml file, and update the following
database connection details Path for database.yml file is config/database.yml
development:
adapter: oracle_enhanced
database: databasename
host: Ipaddress/databasename
username: xxxxxx
password: xxxxxx
Add the following 2 lines in the gemfile under the
following path.
/<projectname>/Gemfile
gem
'activerecord-oracle_enhanced-adapter'
gem
'ruby-oci8'
Now connecting to the oracle database we should have
following tool gem installation
tp> gem install
activerecord-oracle_enhanced-adapter
tp> gem install ruby-oci8
But ruby-oci8 fail due to lack of libraries. We need
have oracle instant client to include the libraries.
Follow the below process to install ruby-oci8
Install: - Instant
Client Package – Basic
Instant Client Package – SDK
Unzip those zip files under
your home directory
tp> unzip zip file name Instant Client Package –
Basic
tp> unzip zip file name Instant Client Package – SDK
Copy the sdk folder from Instant
Client Package – SDK and copy to Instant Client Package – Basic to include
missing oci.h file
Now we must include the path
tp> vi .bashrc
export
LD_LIBRARY_PATH=/home/liginauthor/instantclient_12_1
export
PATH=$PATH:$LD_LIBRARY_PATH
export PATH
tp> vi bashprofile
PATH=$PATH:$HOME
export PATH
eval "$(rbenv init
-)"
To make this change more
permanent edit your config/boot.rb and add this:
require
'rails/commands/server'
module Rails
class Server
def default_options
super.merge(Host: '0.0.0.0', Port: 3000)
end
end
end
Note:- While installing ruby oci8 we
may get an error for creating a creating a soft link just follow the instructions to fix the
problem
Now set the etc host
Add your host name to its Ip
address
tp> vi /etc/hosts
Run rails s
Stop scaffold--> spring stop
It is nice blog Thank you provide important information and i am searching for same information to save my time Ruby on Rails Online Training H
ReplyDelete